These steps will exactly show you how you can start using the app.
1. Open the Shortcuts app
By clicking the new icon that pops-up after enabling the app on the left side of your Zendesk interface..
2. Dashboard

The Shortcuts Dashboard serves the following purpose:
- Overview of the Usage
- Number of created Shortcuts
- Number of clicks for all Shortcuts in the past 7 and 30 days.
- Help you to get in touch with a Sparkly Agent for either
- Expert advice
- Billing changes
- Subscription changes
Admin Overview of Shortcuts

The Shortcuts page shows an overview of all existing Shortcuts.
It is possible to manage the Shortcuts by category under:
- Tickets
- Users
- Organizations
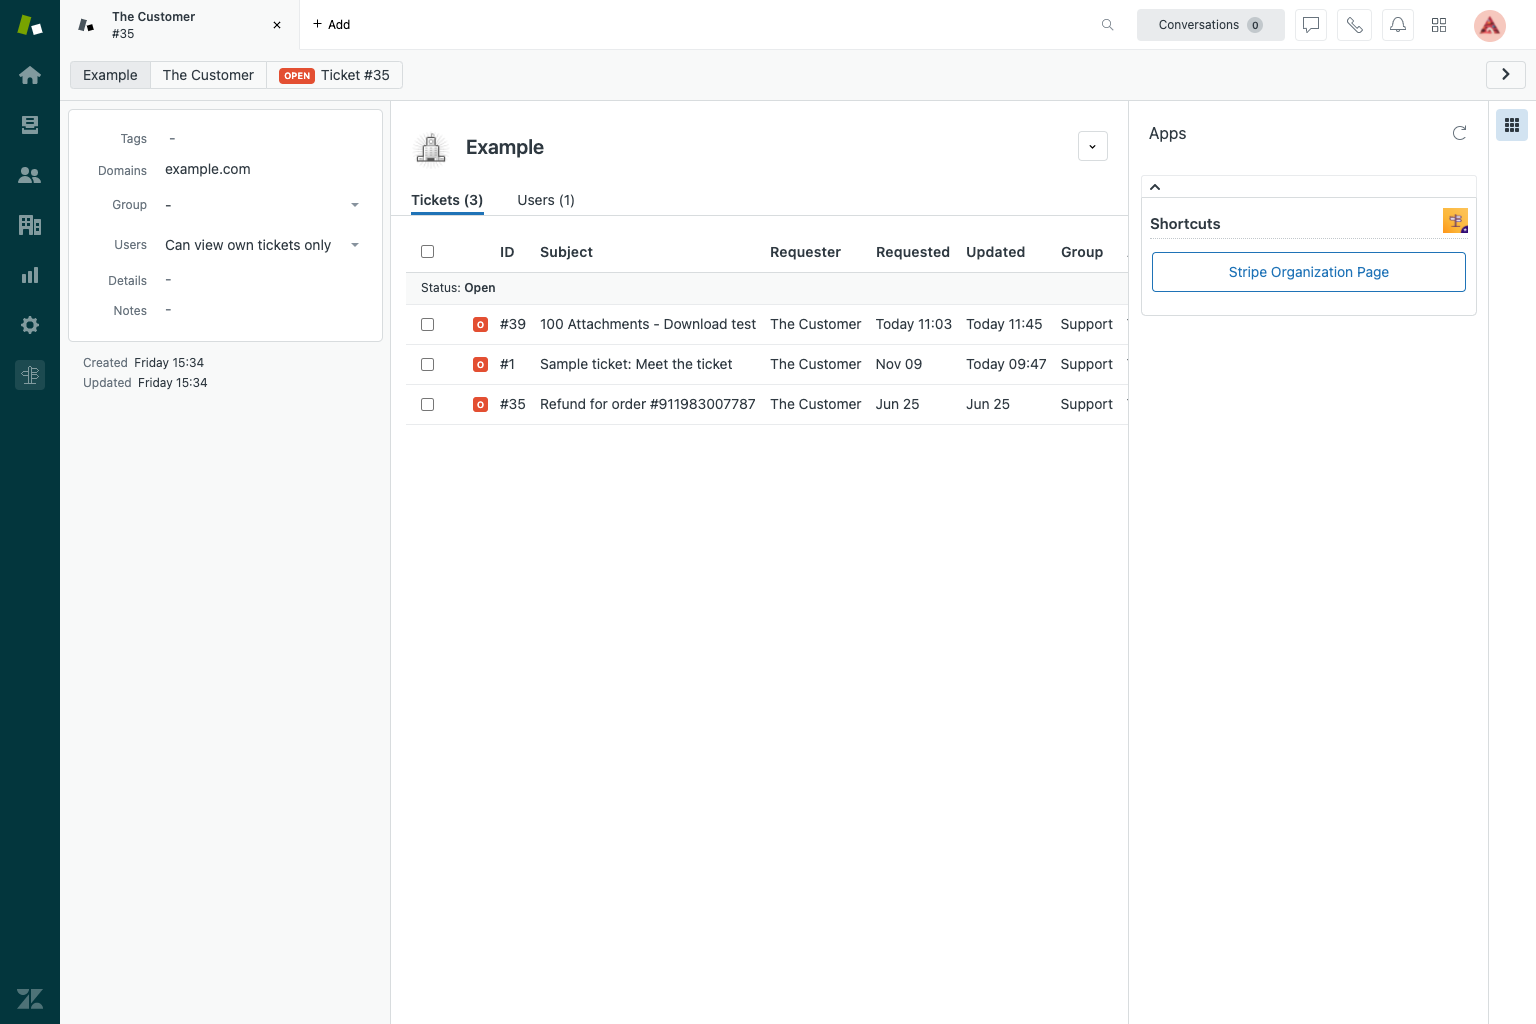
From the perspective of the Agent you can switch between category
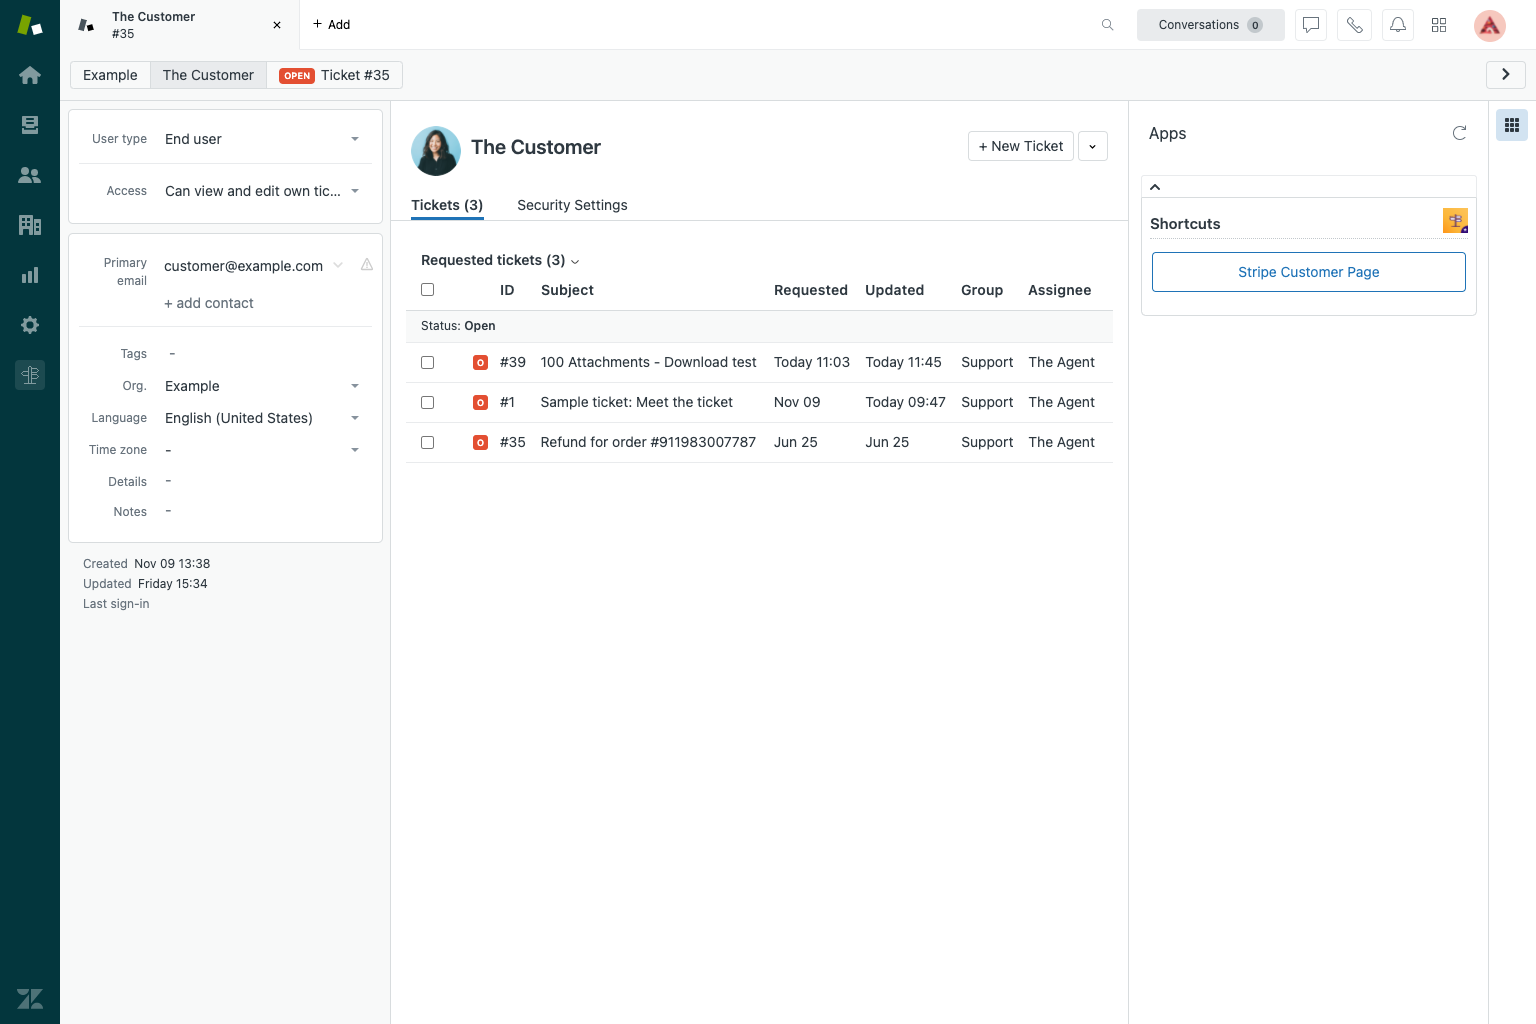
Add a Shortcut
When the add Shortcut button is click, the configuration screen opens up.
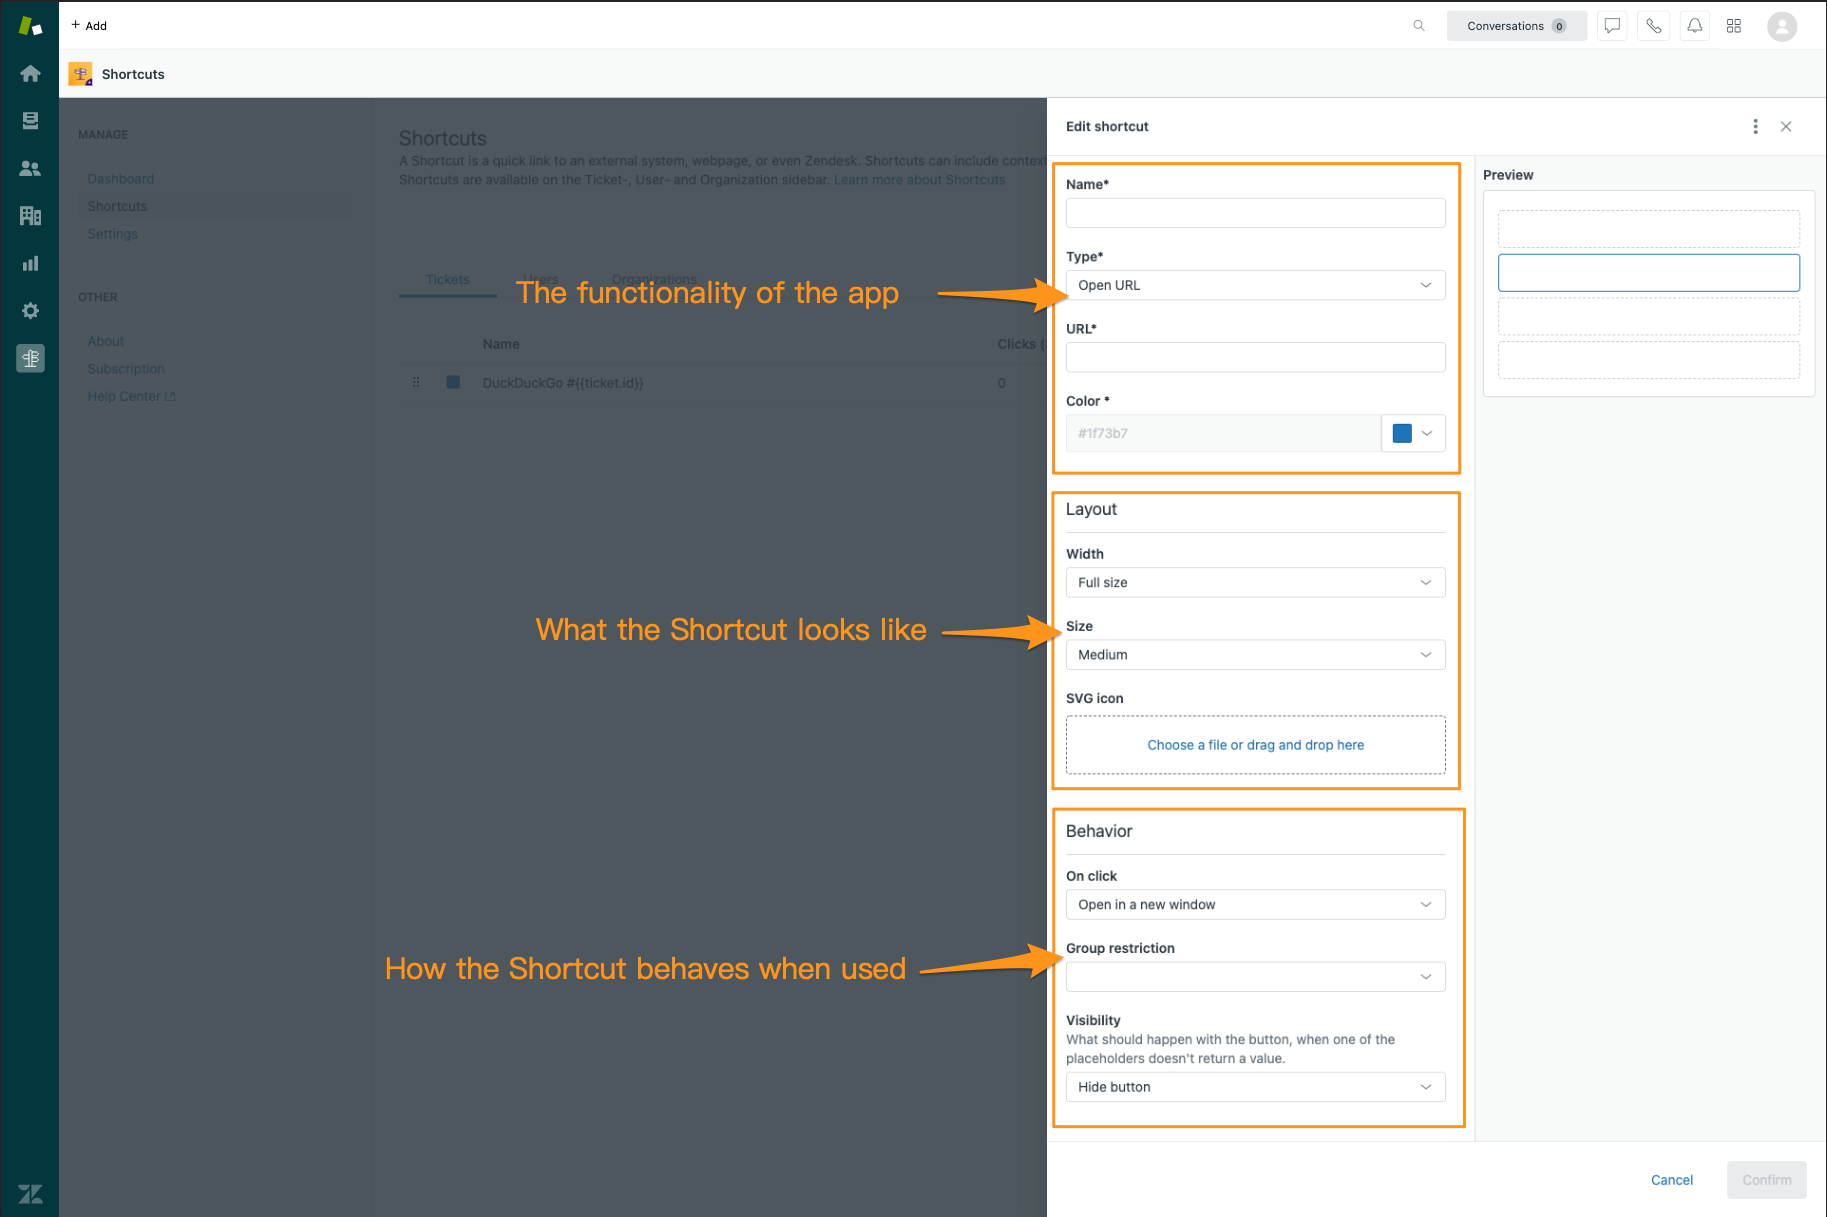
- Functionality
- Name — Will be visible to agent and looks like this
- URL — insert link (For an example click here)
- Color of the link that's visible for the agents.
- Change the way the button looks
- Behavior
- Open link in new window or make use of a pop-up
- Set group restriction(s)
- Set button visibility options
Shortcut App Settings
The app also has an additional setting. This setting allows to control who can create and manage Shortcuts.
